Payment methods accepted

How to Protect Your Ethernet Cables with Waterproof Couplers: A Step-by-Step Guide
Sometimes you just have to! You were running your outdoor Ethernet cable and made an “oopsie”, severing your cable run. What to do? Maybe you were running your Ethernet cable, and found you did not have quite enough cable left to get from point A to point B. It would be an enormous waste of time and material to simply rip out the run! This is precisely what couplers were made for: Unforeseen circumstances and areas where you have to get the cable run to work, but otherwise have no way of resolving the issue.

Ideal Scenarios To Use A Coupler
- You have two patch cables, and neither one of them is long enough
- You have a bit of an accident with your Ethernet cable run, and need to join two segments
- You need to transition from one cable jacket to another due to commercial fire code constraints
Scenarios to Avoid Using A Coupler
- Using more than one coupler in an overall channel (powered device to powered device). More couplers equals more signal loss. Keep this in mind!
- Using a coupler in an attempt to defeat the maximum length that Ethernet cable can be run. See Maximum Ethernet Cable Length for more about that.
- Use of a coupler anywhere in the middle of any permanent link that must be Certified to ANSI/TIA 568-2.D. Permanent links are “rack to jack” or “jack to jack” connections that don't normally involve RJ45 8P8C plugs.
- Switching from shielded to unshielded Ethernet cable (or vice versa) at the coupler, and expecting the entire run to still be shielded the entire way. It won’t be, and in fact you may end up with an antenna! Take a look at Shielded vs. Unshielded Cable for more about what can happen.
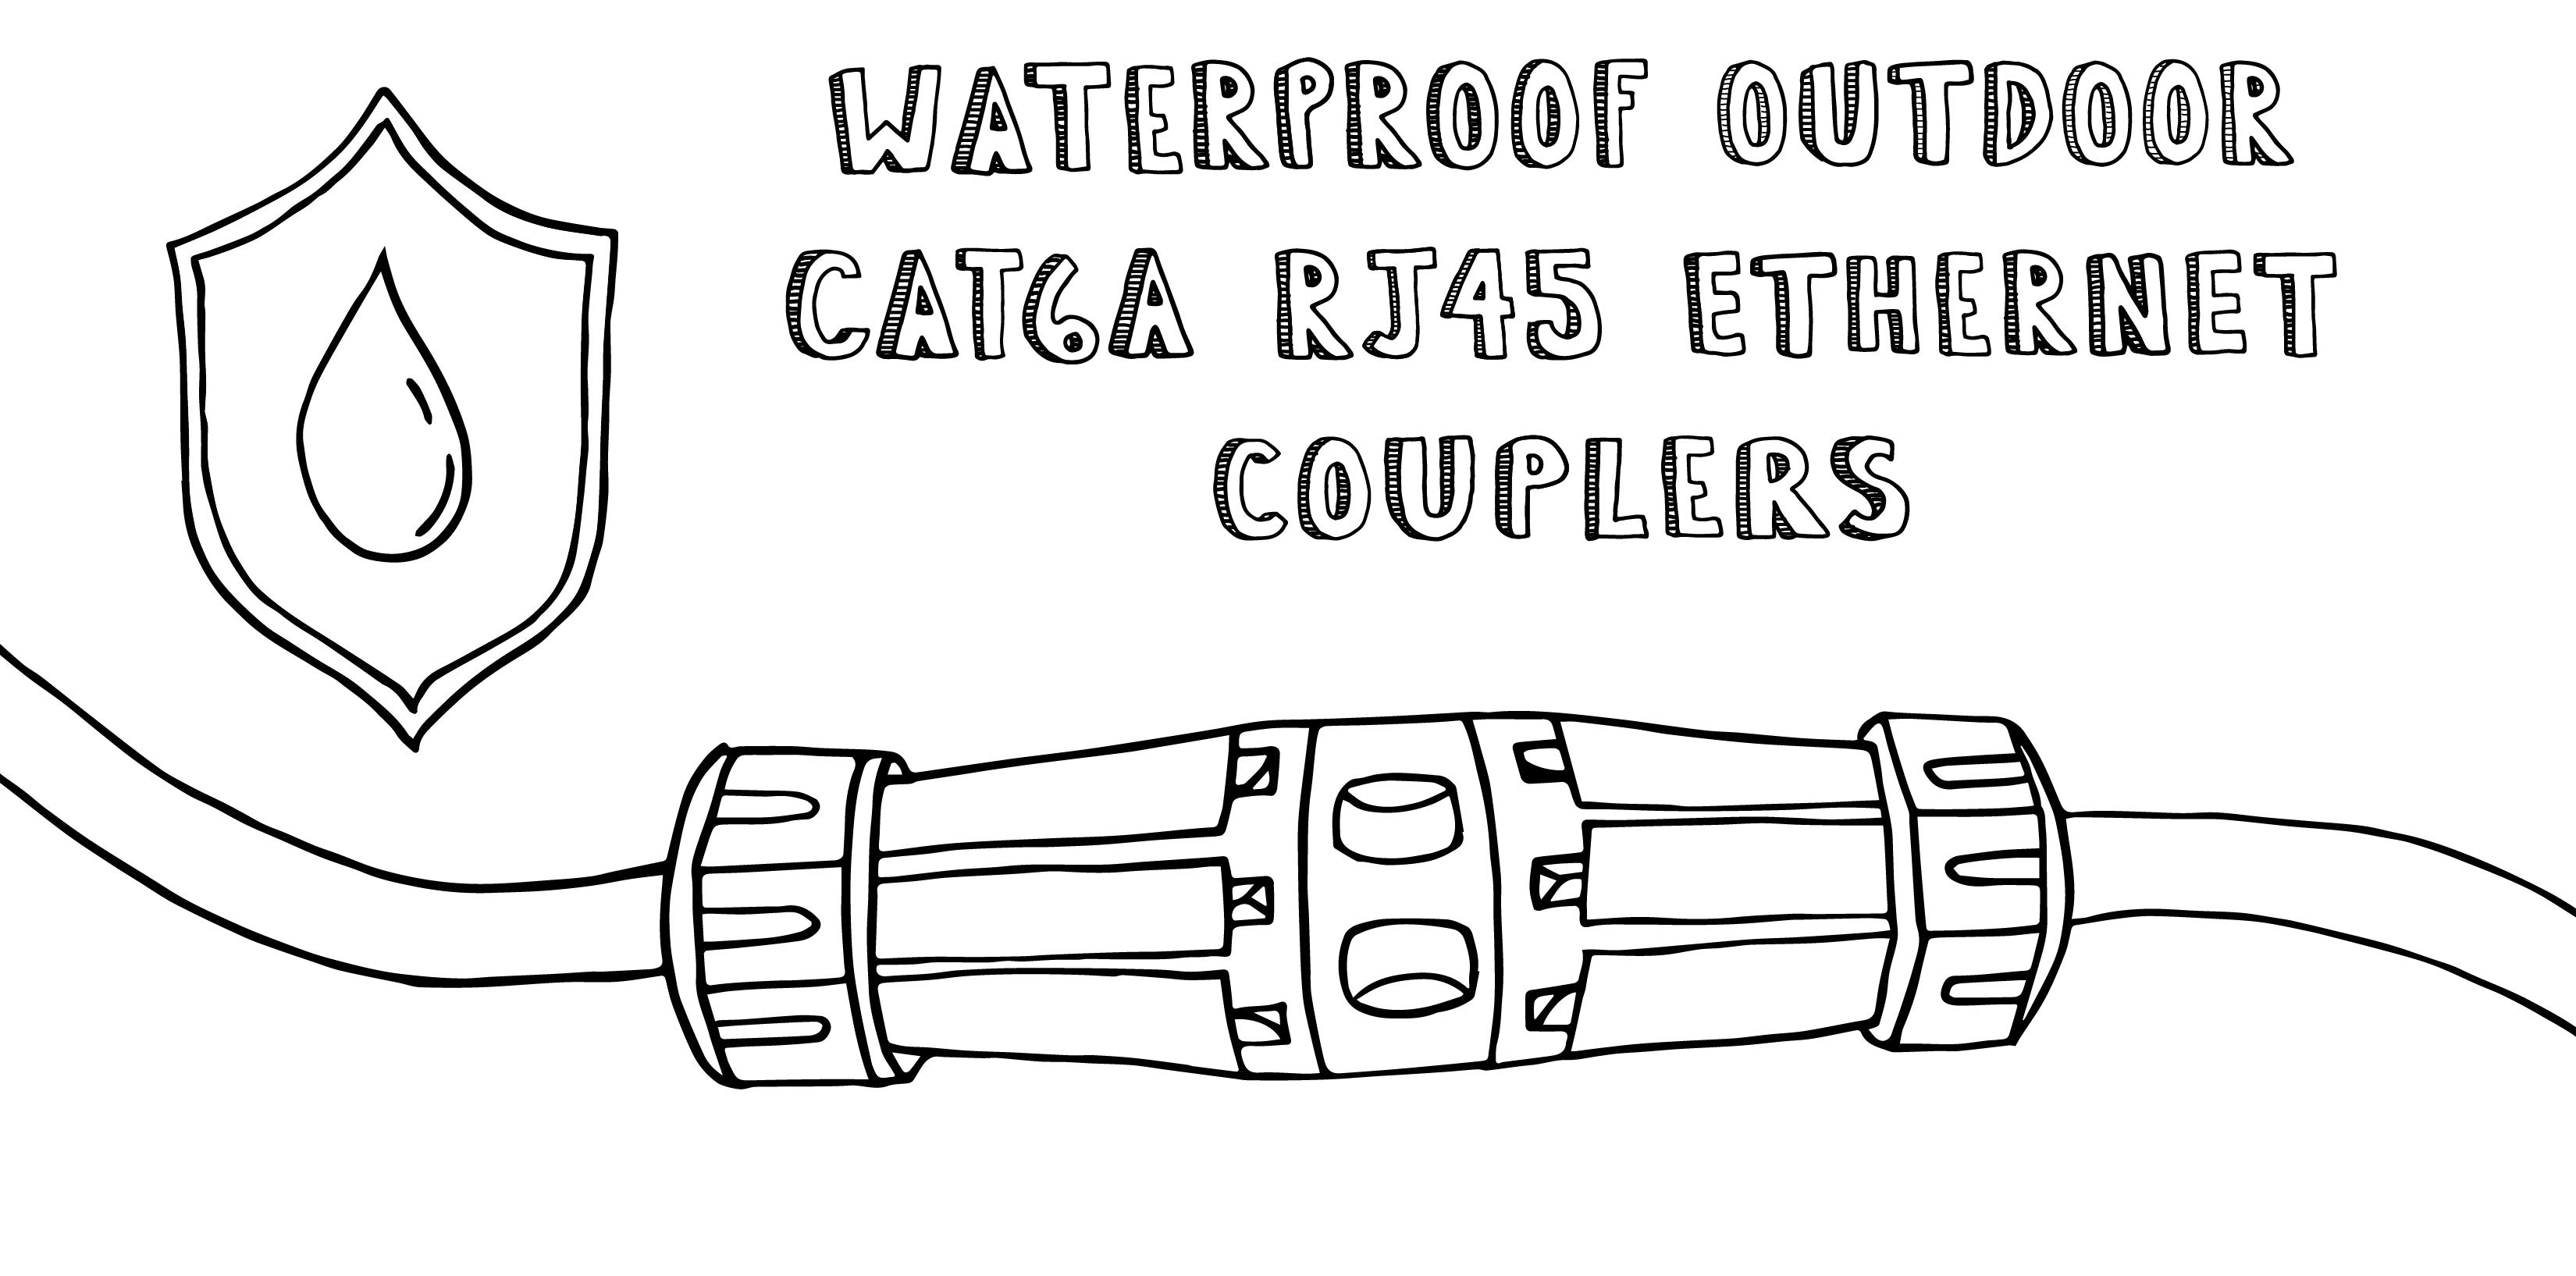
So, knowing all of this, you want the best coupler you can get. This is where our waterproof Cat6A coupler comes in! Yes, you can use it inside too. There is no such thing as a “coupler cop” who is going to come by and give you a ticket for using one indoors.
trueCABLE's Waterproof Cat6A Couplers
Technical Features & Specifications
- IP68 outdoor grade direct burial housing, suitable for permanent outdoor installations
- May be submerged up to three feet deep in water, permanently
- UV light resistant
- Nylon housing
- Silicon rubber grommets, green colored
- Cat6A channel rated** (downward compatible with Cat6 and Cat5e)
- Shielded, but may also be used for unshielded Ethernet
- Power over Ethernet: PoE++, 802.33af/at/bt Type 3 compatible, up to 100W DC
** Channel rated means insertion of the coupler into an overall Ethernet channel will not cause a channel test failure on a field certification device, using channel adapters. Insertion of a coupler into a permanent link, however, may lead to a marginal pass or fail on a permanent link test due to the much tighter test parameters. Professional installers required to formally ANSI/TIA 568-2.D Certify their installation should take note of this!
Step by Step Guide to Installing A Waterproof Coupler
Here’s our step-by-step guide for installing a weatherproof coupler. Feel free to read a long, or checkout the video below!
Step 1

Step 2

Push out the silicon split grommet from inside with your finger

Silicon split grommet out, and about...
Step 3

Slide end cap down the cable jacket as shown

Place silicon split grommet onto the cable
Step 4

Slide housing down cable, and squeeze silicon split grommet under the compression teeth
Be careful when squeezing the split grommet under the compression  teeth. The teeth are plastic, and may break!
Step 5

Plug the RJ45 8P8C connector into the female coupler
Step 6

Screw the housing to the coupler, compressing the silicon O-ring finger tight. DO NOT over compress!
Step 7

Screw the end cap onto the housing, finger tight. The compression teeth should be closed as above. DO NOT over tighten the end cap, and never use tools.
Now repeat the process for the other side of the coupler connection.
You're Finished!

Completed coupler!
Achieving Long-Lasting Protection from Your Waterproof Coupler
So, that is the process of putting on a waterproof coupler. Keep in mind you are dealing with silicon rubber grommets and nylon plastic. Although these components are tough, avoid using tools anywhere in this process and pay attention to detail. Remember, this coupler could potentially be used outdoors or even in a direct burial scenario for a long period of time. If you wish to augment the durability of the coupler for extreme situations, rubber mastic tape is commonly available at many hardware or home improvement stores and will further protect your connection and give additional peace of mind.
HAPPY NETWORKING!
trueCABLE presents the information on our website, including the “Cable Academy” blog and live chat support, as a service to our customers and other visitors to our website subject to our website terms and conditions. While the information on this website is about data networking and electrical issues, it is not professional advice and any reliance on such material is at your own risk.


I have some TruCable couplers, which also appear to have the split grommet for waterproofing. I also have some Amcrest outdoor cameras that use the same split grommet scheme. While the split grommet schemed works OK with Cat6 cable, it does not work with direct-bury Cat6 because the diameter is too great and the grommet leaks, destroying my POE cameras. Do your couplers work properly with the greater diameter direct-bury Cat6 cables?
Thanks!
Hello! Yes, our waterproof outdoor couplers are designed to handle a large range of cable thicknesses, including the thicker direct burial variety. We have tested our waterproof couplers with cable diameters up to 7.80mm. Hope this helps!