Payment methods accepted

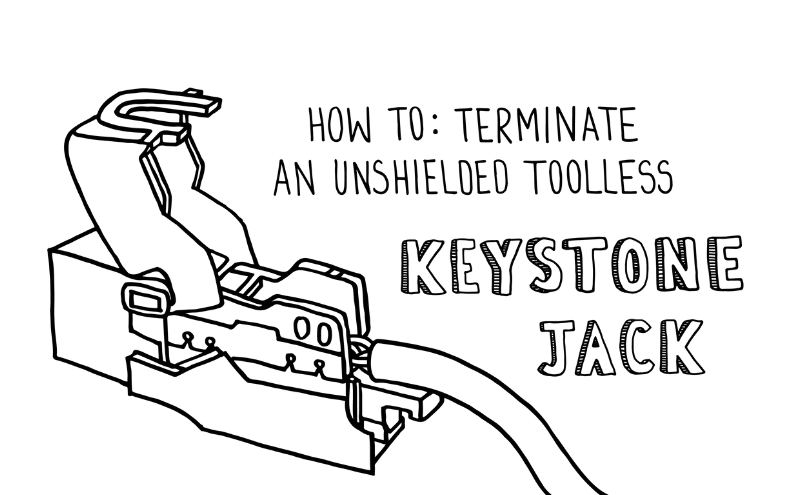
How to: Terminate an Unshielded Toolless Keystone Jack
Written by Don Schultz, trueCABLE Senior Technical Advisor, Fluke Networks Copper/Fiber CCTT, BICSI INST1, INSTC, INSTF Certified
In the world of Ethernet, there are many ways of getting from point A to point B. One of the best ways to achieve a clean and professional-looking install is to run a solid copper structure Ethernet cable in a permanent link configuration.
How do you do that? Well, you will definitely need an Ethernet keystone jack to pull it off! The other end of the permanent link will be yet another keystone jack or a patch panel.
For the DIY installer, this might be a new concept. Many first time installers will put RJ45 connector plugs onto both ends of the cable. Now, this will work, but it will restrict your installation in one fundamental way: flexibility. Wouldn’t it be nice if you could relocate your equipment around the room by merely buying different lengths of Ethernet patch cable to plug into your Ethernet permanent link? The alternative might force you to use an RJ45 coupler or even cutting your cable and putting on another RJ45 plug---far from ideal. If you are confused about the difference between Ethernet patch cable and solid copper structure cable, you are not alone. See What is an Ethernet Patch Cable? for a rundown.
For a glimpse of what a well-executed residential Ethernet cable installation looks like, see The Residential Ethernet Network Install From A to Z: What to Do and How To Do It.
Professional installers already know their way around keystone jacks, but I suggest you keep reading even if you have experience. The entire trueCABLE line of keystone jacks is unique in several ways.
- Component level rated. This means our keystone jacks are tested to perform precisely as ANSI/TIA 568 2.D specifications dictate. They stand alone and are 3rd Party verified to back this up. Lesser keystone jacks are tested in the context of an overall channel. This is not good enough.
- trueCABLE Certified and tested. Using our Fluke DSX-8000, we test according to the appropriate ANSI/TIA 568 2.D Permanent Link guidelines. We test our cable with our components and then publish the Fluke test results.
- Easy to use. Leaving no rock unturned, all of our connecting hardware has been field-tested by real installers to ensure you don’t end up with a frustrating install.
This blog is a companion to the video below. I strongly recommend you watch the video and read the blog. Blogs allow for detailed photos and explanations, where videos allow for a quick, step-by-step audio/visual experience. Both mediums bring something to the table.
This blog focuses on our toolless Cat6 unshielded keystone jack. These instructions are suitable for any of our unshielded toolless keystone jacks, regardless of Category. Just be aware that Cat5e cable does not have a center spline, and the rest is the same.
Nothing is genuinely toolless, so let’s get that out of the way first.
You will need some tools, just not a punch down impact tool.

Two must-haves, and one really nice to have…
Required tools:
Nice to have, and truly unique:
- trueCLOSE parallel jaw pliers
Alternatively, if you have channel lock pliers on hand, you can use those to close the keystone jack lid, but they will not be nearly as precise as our dedicated and unique tool. Cat5e cable is pretty easy to snap shut inside of a toolless keystone jack, but Cat6 and Cat6A, with their thicker conductors, will require more finger and hand strength than you may expect.
For this demonstration, I am using our Cat6 Unshielded Plenum cable -- in green, of course.
Let’s get to it!

Toolless unshielded keystone jack with conductor wiring cap.

Start by stripping off about 2 ½” of the cable jacket. You want to score it, not cut through it. Then, pop open the jacket by bending a couple of times at the score.

Inspect for conductor nicks at the cable jacket edge. Don’t underestimate the importance of this step!
If you accidentally nicked a conductor, you will need to start over. See What Does a Bad Termination Look Like? for pictures of what to look out for.

Flush cut off the ripcord, and then splay the conductor pairs to expose the spline. Remember, Cat5e does not have a spline to worry about.

Cut each “wing” of the spline, resting the clippers near the cable jacket and at a downward angle. Make four cuts. Simply twist to remove the spline. Again, skip this for Cat5e.

Conductor pairs placed into cap
- Take a look at the color sequence on the sides of the conductor cap. You will notice the “top” sequence is for T568A, and the bottom is T568B. I am using “B” for this.
- Now, look at your cable and how the pairs are oriented. Place the pairs into an orientation that lend themselves to minimal cross-over.
- Place the blue and green pairs first into the conductor cap, under the bar.
- Slide the conductor cap downward to the cable jacket and raise the two rear (brown and orange) pairs upward to be above the bar. Get the conductor cap as close as reasonably possible to the cable jacket as shown.

Untwist and seat the pairs one pair at a time. A piece of cable jacket comes in handy.
- Always begin with the green and blue pairs.
- Work on one pair at a time!
- Only untwist the pair as much as necessary to get down to the conductor cap. Excessive pair untwist will ruin your termination.

Blue and green pairs seated. Now, repeat for the brown and orange pairs. This is the T568B sequence.
- The distance from the last twist in the pair to where the individual conductor wires seat into the conductor cap cannot exceed ½”.
- The closer the last twist is to where the conductors actually sit, the better the performance.

Flush cut the conductors off even with the cap housing. Then raise up the keystone jack lid, and place the conductor holder into the jack
- The conductor holder cap will only go in one way
- There is a molded-in arrow on the front, top of the cap, that should be pointed at the RJ45 port on the jack

Snap! Close the jack lid. If you do not have the finger/hand strength try our trueCLOSE parallel jaw pliers.

Apply the zip tie around the blue strain relief and cable jacket. Snug is good enough. Flush cut off the excess.

Done! All ready to insert into a wall plate or keystone jack patch panel
Well, there you have it—a ready to go keystone jack termination. Now you can plug a patch cable into the RJ45 port on the jack and gain a degree of flexibility you may not have had previously.
HAPPY NETWORKING!!
WAIT! Did something go wrong? Check out What Does a Bad Termination Look Like?
trueCABLE presents the information on our website, including the “Cable Academy” blog and live chat support, as a service to our customers and other visitors to our website subject to our website terms and conditions. While the information on this website is about data networking and electrical issues, it is not professional advice and any reliance on such material is at your own risk.


